As a kind of intelligent roadblock that is more popular nowadays, the fully automatic lifting column is also the new trend of the development of "anti-collision equipment" in the future. Today Keou will answer the question of "how to install the automatic lifting column"!
First of all, the whole installation steps are divided into seven major aspects. Let's introduce them one by one on the seven aspects!
1. Digging the foundation
1. The rack part is installed at the entrance and exit of the vehicle designated by the user.
2. Dig 4 rectangular slots at the designated vehicle intersection.
2. Drainage pipe excavation
1. Please dig a drainage ditch (width 50mm * depth 50mm) in the middle of the eight square grooves and connect them to each other. In addition, a slight slope on both sides of the drainage ditch can allow water to quickly flow into the sewer.
2. The slight slope of the two sides of the drainage ditch allows water to flow into the sewer quickly (sewage points A to B need to be sloped so that no water will accumulate).
3. According to the site situation, choose 2 or 3 ways to drain. Use artificial drainage or electric pumping mode (need to dig a small accumulation pool), use natural drainage mode, directly connected to the sewer.
3. Buried stones or drainage pipes
1. Some places need to put stones or bury water pipes (with leaks).
4. Fill the soil
1. The bottom fill soil is 190mm high, and the horizontality requirement is high (the bottom of the lifting column rack can all touch the face of the bottom concrete, so that the whole rack can be stressed)
2. After the lifting column rack is completely put into the ground trough, fill it with soil and concrete to fix it.
5. Installation of control system
1. The lifting switch button for controlling the lifting column can be placed in the security room for control or installed in the operation room for control; it can also be hung on the wall to control the size of the box.
Six, pipeline connection
1. The hydraulic station is equipped with a pipeline within 5 meters from the factory, and the excess part needs to be charged separately. After determining the installation position of the rack and the hydraulic station, when digging the foundation, the layout and arrangement of the hydraulic pipes should be considered according to the terrain of the installation site The trenches of roads and control lines should be buried safely while ensuring that the pipelines do not damage other underground facilities. And make a mark in an appropriate position to avoid damage to the pipeline and other unnecessary losses during other construction operations.
2. The size of the pipeline buried trench should be determined according to the specific terrain. Under normal circumstances, the embedded depth of the hydraulic pipeline is 10 ~ 30 cm, the width is about 15 cm, the embedded depth of the control line is 5 ~ 15 cm, and the width is about 5 cm (you can walk the wall); the control line and the oil pipe Threading pipe (PVC pipe) should be added for protection during installation
7. Trial operation of the whole machine
1. After the connection of hydraulic pipelines, sensors and control lines is completed, they should be checked again to confirm that there are no errors.
2. Connect the 380V three-phase power supply.
3. Start the motor idling, and check whether the direction of rotation of the motor is correct. If it is not correct, please replace the three-phase access line, and then proceed to the next step after it is normal.
4. Add hydraulic oil and check whether the oil level indicated by the oil level gauge is above the middle (user-supplied hydraulic oil)
5. Start the control button to carry out the switch debugging of the automatic lifting column. During the debugging, the switch time interval should be longer, and pay attention to whether the opening and closing of the lifting column is normal. After repeated several times, observe whether the oil level indicator on the hydraulic oil tank is in the middle of the oil level gauge. If the oil is insufficient, refuel as soon as possible.
6. When commissioning the hydraulic system, pay attention to the oil pressure gauge during the trial operation.
7. After the fully automatic lifting column works normally, cement and concrete are poured around the main frame to strengthen the lifting column.
The above is the introduction about the installation process of the automatic lifting column. If you do n’t understand anything, you can call us to understand or consult!
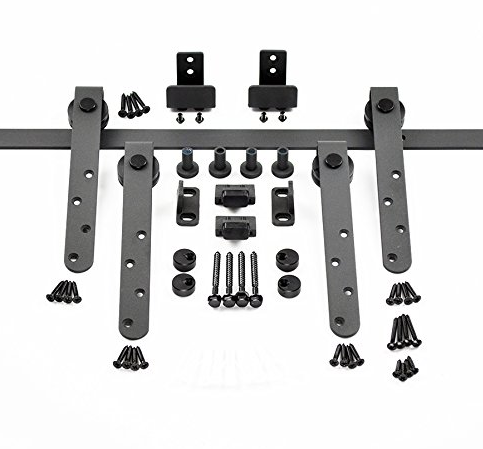
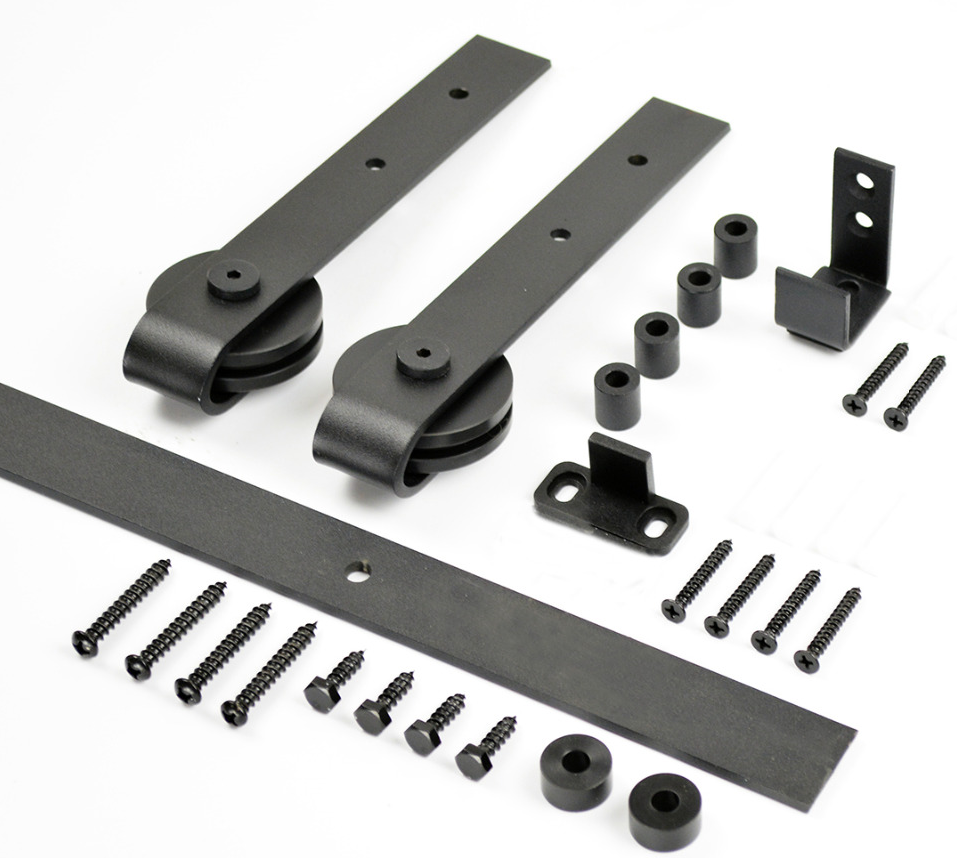
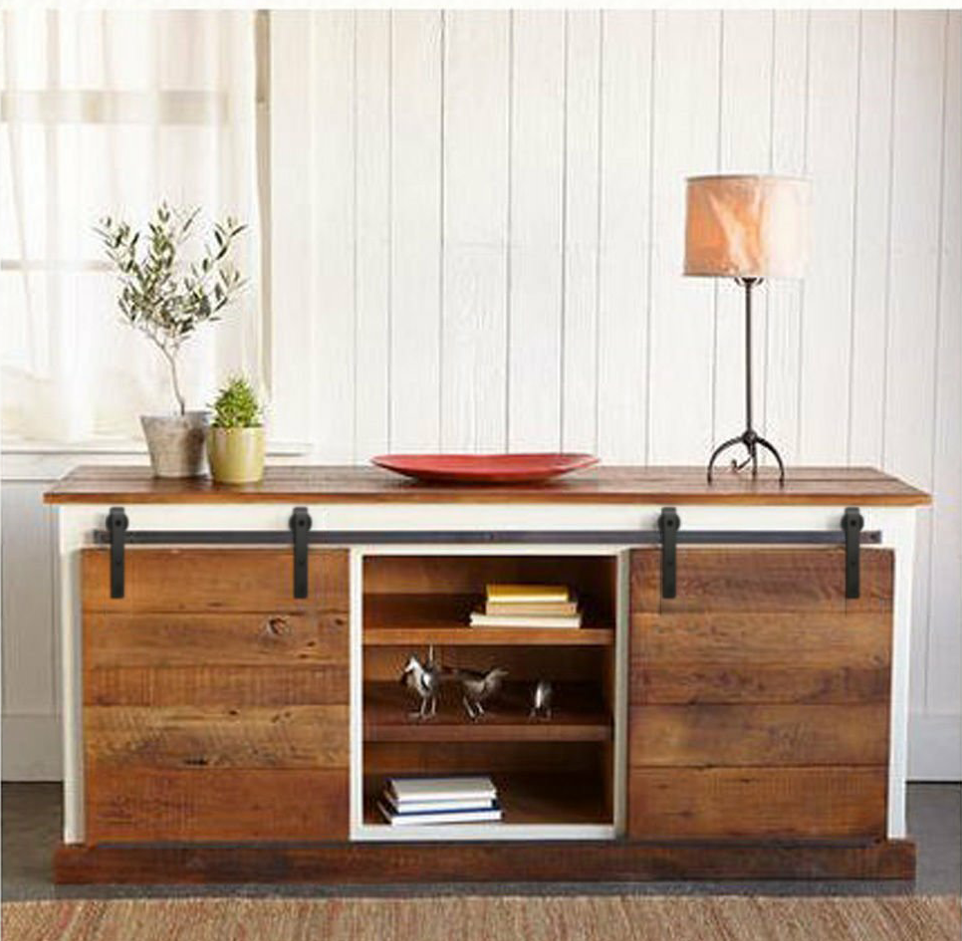
Our mini Sliding Door Hardware kit can be used for various purposes such TV stand door, vanity door replacement, cabinet renovation, add on to your pet`s kennel, bookshelf closet and so on!
The Material is carbon steel to make the hardware heavy-duty and sturdier than the competition. The black powdered coating makes the paint stays forever and will not be scratched off. The wheels of the roller are made of high-quality nylon which ensures minimal noise when it glides on the track. Each complete track can hold door weight up to 100 lbs.
Of course you can customized size and color you like.


Mini Barn Door Hardware
Mini Barn Door Hardware,Mini Barn Door Hardware For Cabinets,Barn Door Hardware For Cabinets,Mini Sliding Barn Door Hardware,Mini Barn Door Kit
Foshan Nanhai Xin Jianwei Hardware Co., Ltd , https://www.aaghardware.com


